
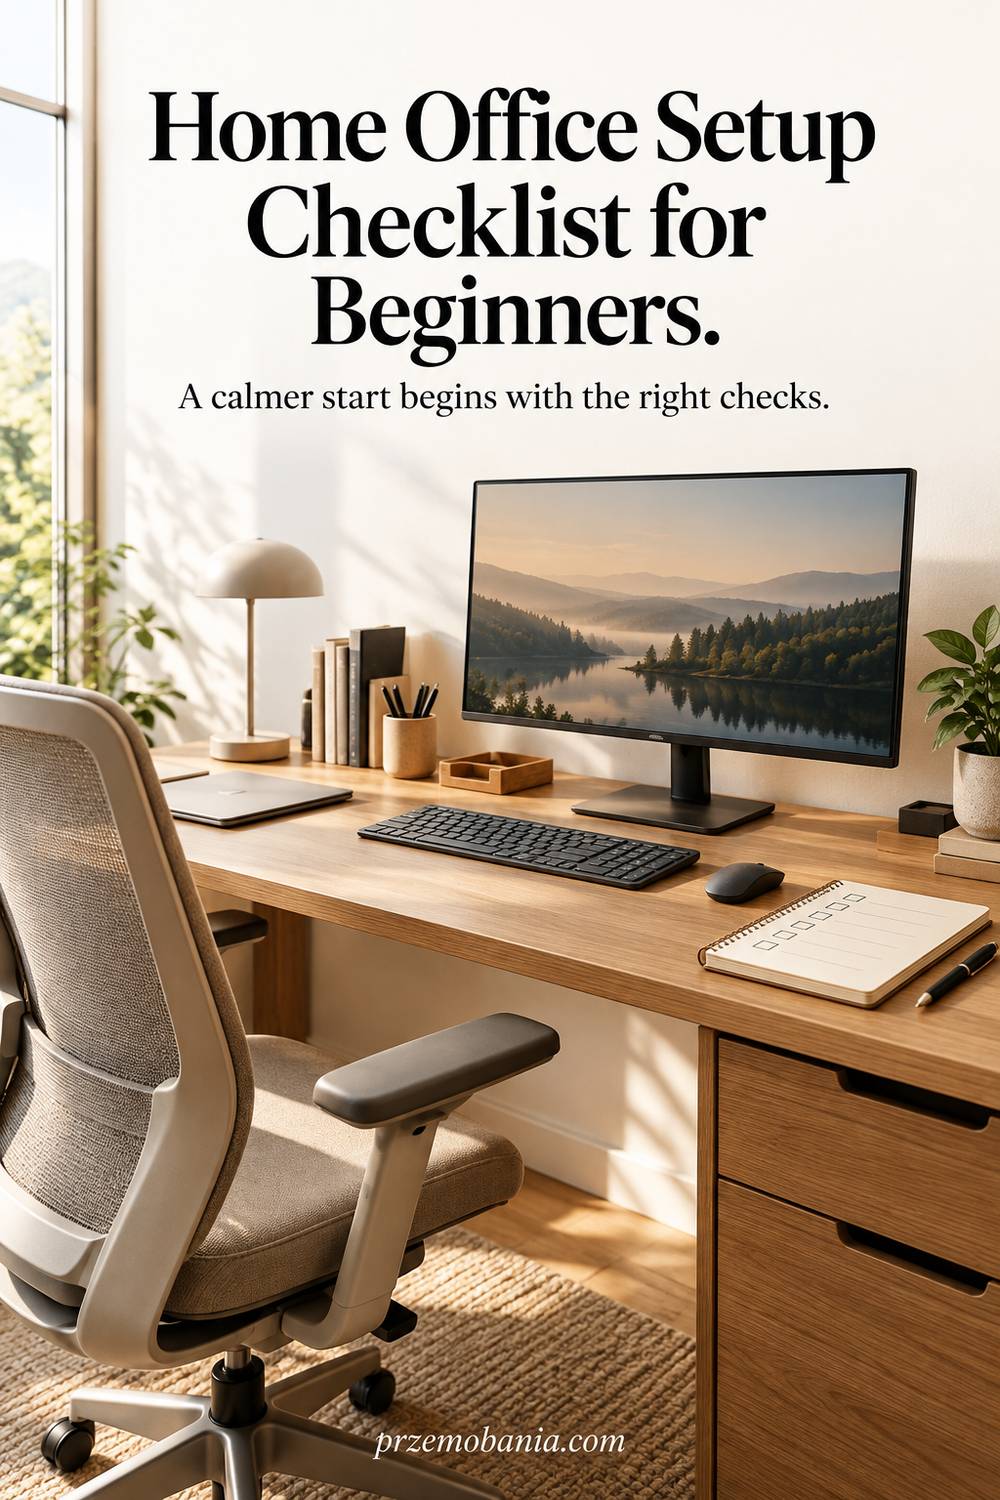
Home Office Setup Checklist for Beginners
Have you ever bought something for your desk and then realised the problem was somewhere else? My home office setup checklist for beginners helps you check what actually works before you buy anything more. If starting feels like a hundred small decisions arriving at once, I want to make those decisions easier to handle.
A beginner’s home office checklist should cover work needs, available space, desk and chair fit, screen position, lighting, power, internet, storage and daily routine. Check each item in use, record anything unresolved, and prioritise essential fixes before optional purchases or decorative extras.
My mum sparked my interest in interiors, and after my wife’s chronic illness changed our lives I helped shape workspaces for her work and my blogging; the research informing this checklist is listed in the references.
A useful checklist gives you a way to decide when something is ready. Owning a headset is different from knowing that your microphone works in the application you need. A desk that fits against a wall may still leave nowhere to move your chair. Those small differences are why I use practical checks rather than a shopping list alone.
For the wider decisions behind the room, my guide to planning your home office setup explains how furniture, layout and everyday use fit together.
How to Use This Home Office Setup Checklist for Beginners
Start by giving every check one of three labels: ready, needs action, or not relevant. Ready means you have tried it, rather than simply unpacked it. Needs action means something specific must change before that part of the space works reliably.
Not relevant is useful because your office should reflect your work, not somebody else’s equipment collection. Write your normal tasks at the top of the page. Add the devices, documents and supplies those tasks require.
Then walk through the room with that short list in your hand. Check the space during the hours you expect to use it. A quiet corner on Sunday can behave very differently during a weekday afternoon.
Keep a separate column for the next action beside each unresolved item. Name the action precisely, such as testing a cable or asking for account access. Put any cost beside the action before approving a purchase.
Where your employer supplies equipment, confirm what is coming before ordering your own version. Treat decorative choices as a separate list so they do not obscure missing essentials. Use the eight checks below as your first pass through the whole workspace.
Return to the list when something changes instead of trying to predict every future need now. Helping my wife work at home taught me that a useful room must respond to the person using it. Building my own blogging workspace reinforced that lesson because the tools only mattered when they made an actual task easier.
- Define the Work You Actually Do
- Check the Space Before Shopping
- Fit Your Main Working Position
- Make Light and Screens Cooperate
- Test Power and Essential Connections
- Give Daily Items Simple Homes
- Rehearse a Real Working Session
- Record What Needs Another Look
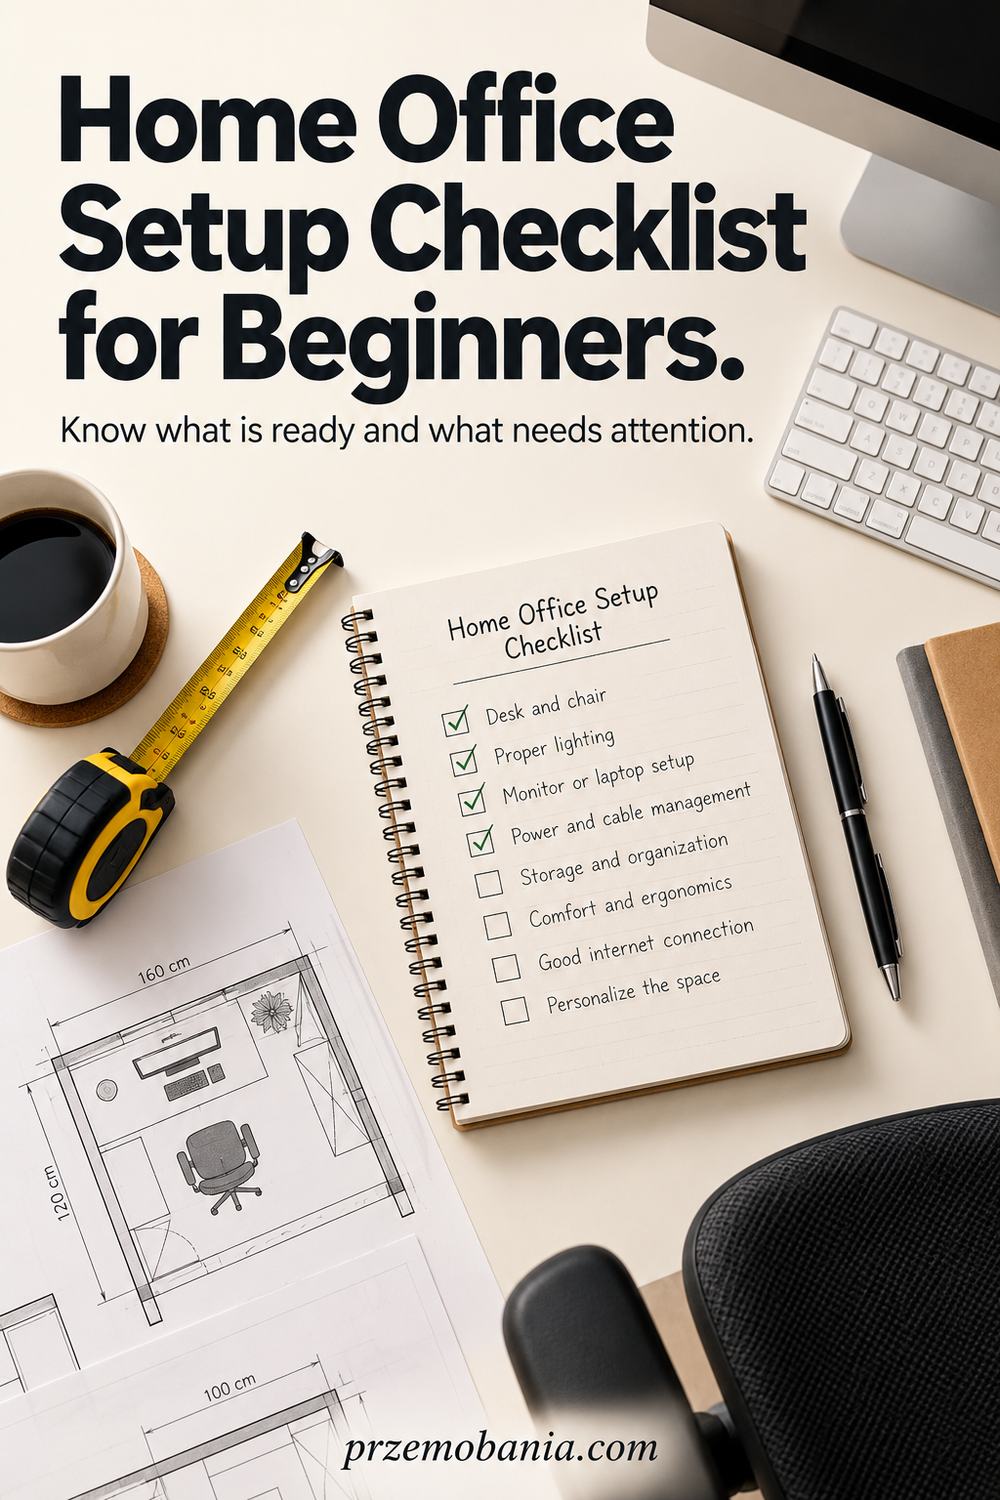
Define the Work You Actually Do
Write three activities you expect to repeat most often, such as drafting documents, joining calls and handling paperwork. Beside each one, list what you must have within reach. I would give writing space to a notebook I use daily before making room for a printer that rarely earns its place.
Mark the essentials you already own, those your employer provides and those still missing. This prevents a beginner’s checklist becoming an expensive collection of attractive suggestions. A second screen, webcam or document holder belongs on your list only when it solves a real requirement.
Your completion check is simple: can you explain what every planned purchase will help you do? If you cannot, leave it undecided. For the decisions that unlock the rest of the room, follow what to set up first in a home office before committing to furniture.
Check the Space Before Shopping
Record the usable width and depth of your chosen area, then include the space needed to move the chair and open nearby doors. Note radiators, sockets, windows and anything that must stay accessible. Measuring only the empty wall misses the movement that happens in front of it.
Try the position with the furniture you already have before choosing a permanent arrangement. Notice where household traffic passes, where conversations can be overheard and whether daylight changes the view of your screen. You are checking whether the location supports your normal tasks, not whether it photographs well.
Mark this section ready when you can sit, stand, enter and leave without squeezing around equipment. If you still need to choose between several arrangements, my home office layout guide explores that separate decision in more detail. Keep the measurements with your checklist for later purchases.
Fit Your Main Working Position
Set the chair, working surface and screen together rather than judging them as isolated purchases. Your hands need an easy route to the keyboard and mouse, while your legs need usable space below. Sit as you would during work, with your usual footwear and the equipment you actually use.
HSE’s workstation positioning guidance provides a starting point for screen height, reach and support. For prolonged laptop use, separate input devices allow you to raise the display without raising your hands with it. Individual needs can require further adjustments.
Check this section through a short ordinary task rather than a posed photograph. Record awkward reaching, pressure or repeated leaning and seek a suitable adjustment or assessment. Comfort is not a promise that one chair can make, and persistent discomfort deserves attention rather than another tick beside the furniture.
Make Light and Screens Cooperate
Open the document or application you normally work in and look for reflections across the display. Try the same check at a second time of day if sunlight reaches the desk. A lamp that makes the room feel welcoming may still reflect in the screen when you sit down.
Move the lamp or adjust the blind before assuming you need stronger lighting. Paper tasks and screen tasks may need different amounts of local light, so test both. I like a workspace that lets me change the lighting easily without moving everything on the desk each time.
Mark the check ready when you can see the work clearly without repeatedly moving to escape glare. Leave a note if changing daylight still needs a later test. Choosing fittings and lighting layers deserves its own treatment in my home office lighting guide; this checklist is about confirming that the arrangement you have is usable.
Test Power and Essential Connections
Check that each required device has its correct charger and a practical route to power. Keep leads out of walking routes and away from chair wheels. Electrical Safety First advises against overloading sockets and connecting extension leads to one another; extra outlets do not create extra electrical capacity.
Then test your internet connection at the actual desk, using the applications your work requires. Loading a website alone does not confirm that a video meeting, file upload or approved work connection will run properly. Record the failed task rather than guessing that a new router will solve everything.
Your ready check is a successful ordinary task with the intended devices connected. Keep a note of whom to contact if access fails. The checks before your first work-from-home day cover readiness and support contacts without turning this stage into a technology shopping exercise.
Give Daily Items Simple Homes
Gather the small items that follow you through a working session: glasses, notebook, pen, headset and any task-specific supplies. Give each one an obvious place that is easy to reach and easy to use again. A storage system fails quickly when putting something away requires more effort than leaving it out.
Separate current work from reference material and things waiting for somebody else’s response. Even one tray and a named digital folder can make that distinction clearer. Store confidential information according to your work requirements, particularly when the room is shared with other people.
Mark this section ready when you can find the essentials and clear the working surface without inventing new homes for them. Avoid buying matching containers before you know what they must hold. I prefer a modest arrangement that supports a daily reset over attractive storage that quietly becomes another pile to sort at the weekend.
Rehearse a Real Working Session
Choose a small task that represents the work you will actually do and run it from start to finish. Open the required files, type, use any paper notes and test a call if calls are part of the job. Keep a spare sheet beside you for anything that interrupts the task.
Separate room problems from access problems as you write them down. Moving a monitor may help visibility, while a missing permission needs somebody with the right account access. That distinction prevents you rearranging furniture to solve a problem that lives inside an application.
Tick the rehearsal only after the necessary steps work, with unresolved items recorded clearly. If you are still assembling and installing everything, use the home office setup day checklist for the practical sequence. A rehearsal can reveal problems early, but it does not replace a proper workstation assessment where one is needed.
Record What Needs Another Look
Give each unresolved issue a short description, a next action and a review date. Write what happened in plain language, such as a call dropping at the desk or a drawer blocking the chair. Specific observations are easier to act on than a general feeling that the office is not quite right.
Do not postpone urgent faults or discomfort simply because you have chosen a future review date. Deal with immediate concerns as they arise and use later reviews for the patterns that take time to notice. Keep successful adjustments on the record too, so you do not undo them while changing something else.
Mark this stage ready once you know what remains open and who will deal with it. My 30-day home office setup review gives that follow-up a focused structure. The aim is a room that becomes easier to use, rather than a checklist that stays perfectly ticked while your needs change.
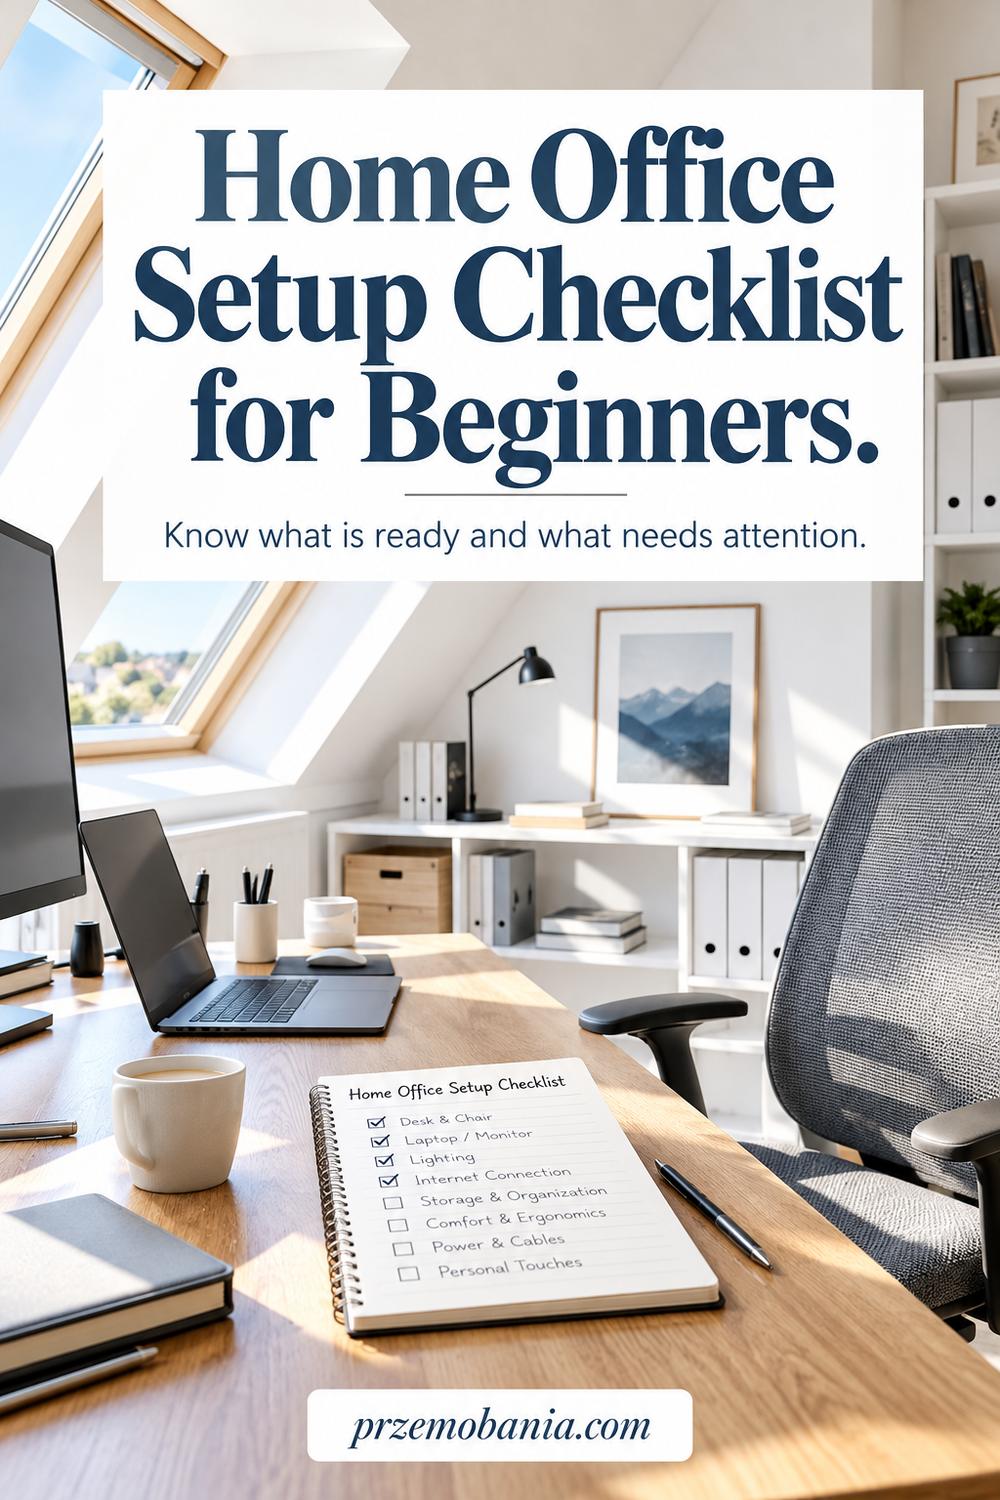
Turn Your Home Office Setup Checklist for Beginners into a Working Record
A checklist becomes more useful when you attach evidence to the ticks. You might note the date of a successful test call or keep the measurements that confirmed a desk would fit. These small records save you repeating the same uncertain decision later.
Use a plain notebook, a printed page or a simple digital note, whichever you will actually reopen. Keep the record somewhere accessible from outside your main work account. That matters if the very problem you are investigating prevents you signing in.
For each check, record the result and the next action rather than a long explanation of the whole room. Separate actions you can complete from those waiting on a delivery, employer or technician. Add a date when you will follow up on anything outside your control.
If two people share the workspace, give each person’s adjustments a separate note. A setting that works for you may not suit the next person. Record the easiest way to restore your own arrangement after the desk changes hands.
You can also photograph equipment positions for your private reference, provided no confidential material appears. The record should reduce effort the next time you return to the room, not become another project to maintain.
| Check | Ready When | If Unresolved |
|---|---|---|
| Work requirements | Your main tasks have the equipment and access they need | Confirm the missing requirement |
| Space | You can use the chair, doors and storage freely | Recheck the footprint and movement space |
| Working position | You have tested the arrangement and noted concerns | Adjust or request an assessment |
| Lighting | Screen and paper tasks are visible without troublesome glare | Test blind, lamp or position changes |
| Power and connection | Required devices and work tasks function at the desk | Identify the fault and responsible contact |
| Storage | Daily essentials are accessible and put away easily | Simplify the arrangement |
| Rehearsal | You can complete a representative task | Record the exact failed step |
| Follow-up | Open actions have an owner and review date | Decide the next action |
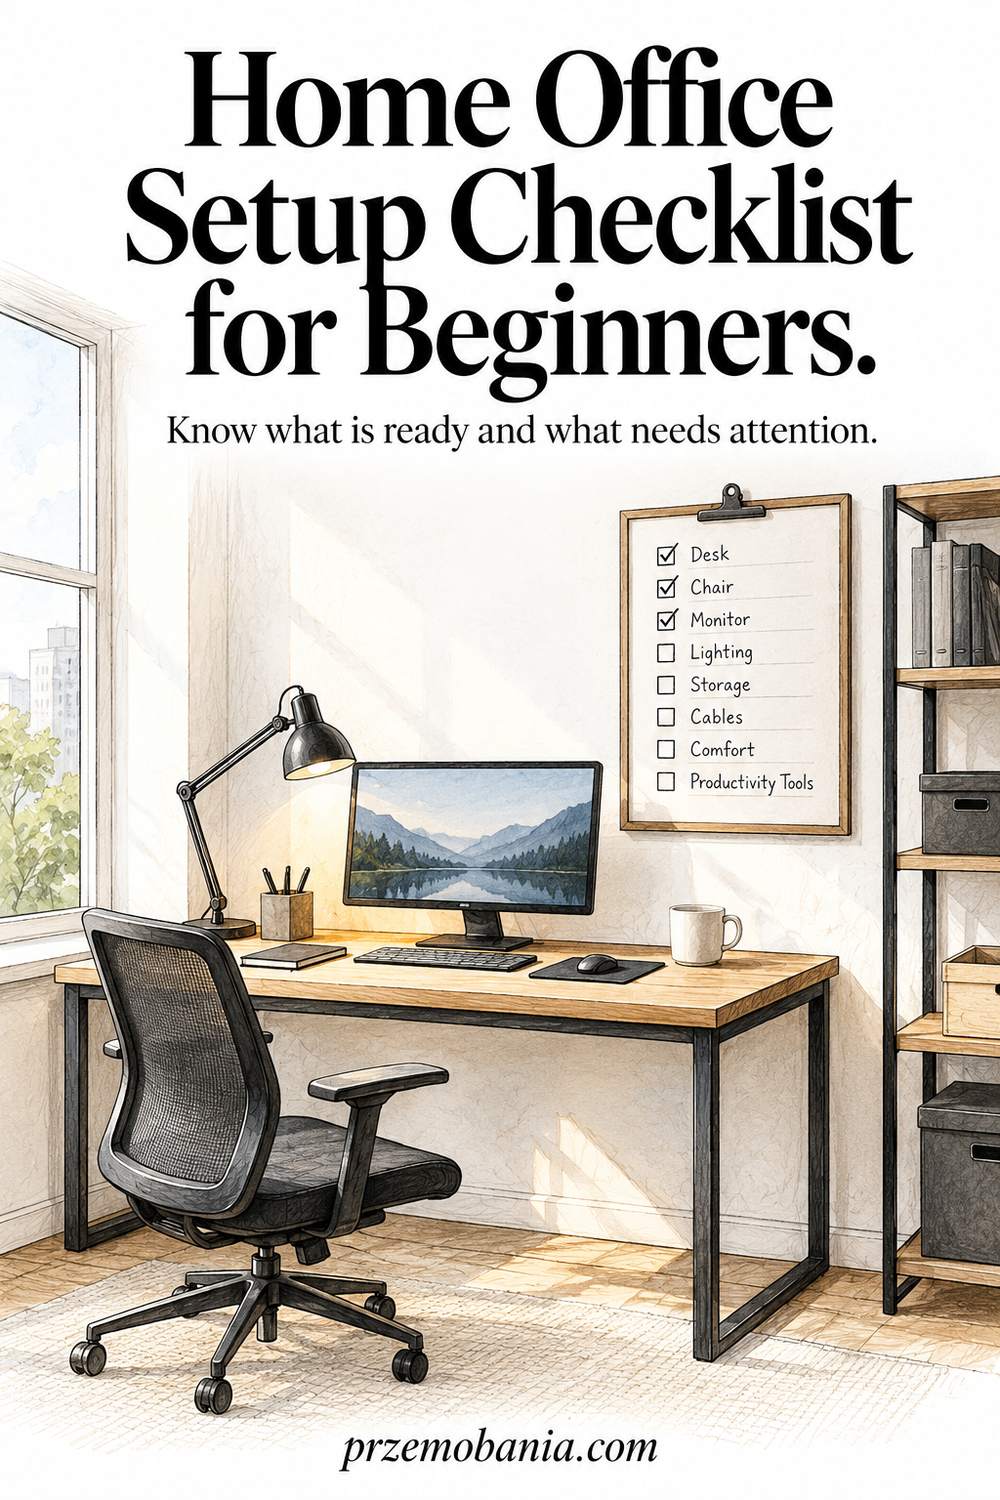
Adapt Your Home Office Setup Checklist for Beginners to Your Home
The same checklist can work in a spare room or a corner because the checks describe functions rather than a particular look. In a shared room, include the time needed to set up and clear away. Test where equipment will wait safely when the surface returns to household use.
If you already own suitable furniture, begin with adjustments rather than replacement. A purchase should answer a requirement the existing arrangement cannot meet. Keep borrowing and temporary arrangements explicit so they do not quietly become permanent by default.
When money is tight, ask what prevents necessary work today and what can reasonably wait. Keep that decision separate from electrical faults, unsuitable equipment or unresolved discomfort. A limited budget deserves a realistic plan rather than pressure to tolerate a problem indefinitely.
If your capacity varies from day to day, make the easiest acceptable version of the routine clear. Your checklist should help you start with less effort, including on a day when you have little energy to spare.
Final Word on Your Home Office Setup Checklist for Beginners
The most useful result of working through this checklist is not a fully furnished room. It is knowing what you can rely on when you sit down. You have checked the tasks that matter, identified the things that still need attention and given yourself a practical way to move forward. That is a much steadier starting point than hoping everything will work because the desk looks finished.
I think beginners are often asked to make too many permanent decisions before they have enough experience of their own workspace. You might feel you should choose the perfect desk, a complete storage system and a final decorative style all at once. In reality, ordinary use will teach you things that a product photograph cannot. Leaving room to learn is a sensible part of planning.
That does not mean postponing the foundations. If you cannot access your work, use the furniture appropriately or move safely around the area, there is something concrete to resolve. What can wait is the pressure to make every corner match an ideal image. Start with the conditions that allow you to use the room, then let personal touches grow around those conditions.
My interest in interiors began with my mum, so I understand the pleasure of a room that feels considered and welcoming. Helping my wife create a workable space added another layer to that interest. It made me pay closer attention to how much effort a room asks of someone. A small obstacle repeated throughout the day can matter more than an impressive feature you barely use.
The same thinking helps me with blogging. I want the space to make starting a task straightforward, and I want to be able to find what I need without turning every work session into an organising session. Your work may look different from mine, but you can still judge the room by how it behaves during the tasks that fill your day.
Keep your first checklist after you have worked through it. It becomes a useful record of what you expected, what proved helpful and what changed. When a new device arrives or your routine shifts, revisit the relevant checks rather than beginning the entire project again. Familiar notes can make a small adjustment feel manageable.
You also do not have to solve every issue alone. Some questions belong with your employer, an equipment supplier or a qualified professional. A clear description of what is happening helps those conversations. Knowing whom to ask is part of being prepared, not evidence that you have failed to organise your office properly.
Give yourself permission to call a practical, considered start progress. The room can develop without making you feel constantly behind. When you can begin your work, recognise a problem and respond to it with a sensible next step, the checklist is doing its job. The rest of the space can continue taking shape around the life you actually have.
You do not need a perfect office to make a thoughtful start. Check what your work requires, test the arrangement you have and give each unresolved issue one clear next step. A useful workspace grows through attention and small adjustments, leaving you with more confidence in the room and less pressure to buy everything at once.
Tell me which check helped you most, and explore the FREE chapter of my eBook for more ideas about creating a cosy home office that fits your life.


Przemo Bania is a blogger and writer who helps people get out of their traditional jobs to start a blogging career. Przemo also runs a health blog advocating for endometriosis and fibromyalgia…
Related Questions You May Be Asking About a Home Office Setup Checklist for Beginners
1. Do I Need a Separate Room for a Home Office?
No, but the area must support your tasks and any privacy requirements attached to them. A shared room can work if equipment has a safe home and the working surface is available when needed. Check household movement, conversations and the time required to set up before deciding whether the location is suitable.
2. Does Every Beginner Need Two Monitors?
No. Think about whether your normal tasks require two views at the same time. One suitable display may be enough for writing, administration or calls. An additional monitor also needs desk space, compatible connections and sensible positioning, so add one because it serves a task rather than because it appears in other people’s offices.
3. Can I Use Furniture I Already Own?
Yes, if it is stable, suitable for the task and allows an appropriate working arrangement. Check the relationship between the surface, seat and equipment instead of relying on the furniture’s label. Existing pieces can be a useful starting point, but an unsuitable fit still needs addressing rather than being ignored to avoid a purchase.
4. Should My Checklist Be Printed or Digital?
Use whichever format you will keep accessible and update. Paper is convenient while measuring a room, while a digital note can hold links and photographs. Avoid building a complicated tracking system for a small number of checks. The useful part is recording results and next actions clearly enough that you can return to them.
5. Is This the Same as a DSE Assessment?
No. This is a practical planning checklist for beginners. A display screen equipment assessment examines workstation risks and the actions needed to address them. If you work for an employer, follow its assessment process and raise concerns through the appropriate route. A personal checklist can help you describe issues but does not replace that process.
Home Office Setup Checklist for Beginners References
- HSE: Good Posture When Using Display Screen Equipment
- HSE: Workstations and Assessment
- HSE: DSE Workstation Checklist
- Electrical Safety First: Home Office Safety
- NCSC: Secure Online Meetings
